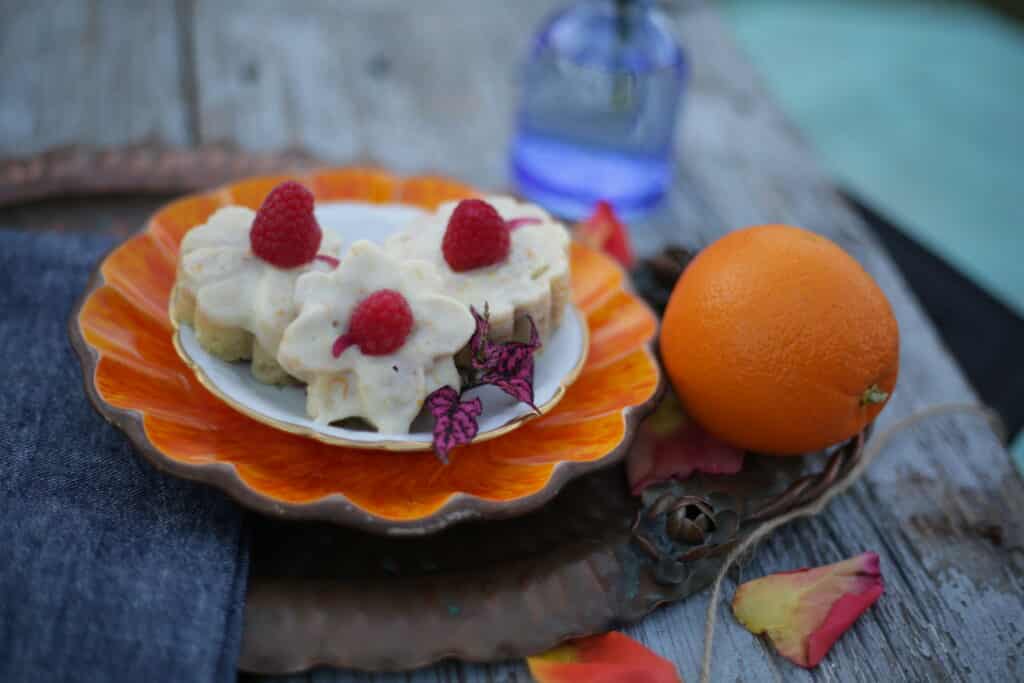
Low Carb Raspberry Orange Mini Mug Cakes with Yummy Icing
Low Carb Raspberry Orange Mini Mug Cakes with Yummy Icing – These little cakes are so cute, and when a carb craving hits, they really take that edge off and hit the spot!
How to Make Raspberry Orange Mini Mug Cakes
If using the oven, then preheat it to 350°.
First, melt the butter in the microwave for about a minute. If it’s not completely melted, then microwave it a bit longer (working in 20 second intervals). Use a small amount of the butter to grease the baking cup, silicone mold or oven-safe pan. Transfer the butter to the fridge to cool slightly (you want it still to be liquid, but cooled off a bit).
I find that it’s a bit easier to use 2 small bowls or cups and mix the dry ingredients in one and the wet ingredients in the other. I feel like when you mix the dry ingredients together by themselves first that they are dispersed more evenly in the batter. If using xylitol, you’ll want to mix it with the almond flour first for better mixability.
In the first small bowl/cup, combine the almond flour and xylitol and give it a quick mix with a fork or spoon. Next, mix in the coconut flour and baking powder.
In the other small bowl or cup, mix the sour cream, vanilla, orange juice, zest, egg and egg white.
Next, mix the dry ingredients and wet ingredients together, then add the cooled butter and 1 tablespoon of the raspberries.
Transfer the batter to the prepared baking cup/dish/pan/mold. Microwave for 90 seconds until the cake is cooked through. While the cake(s) cook, make the yummy icing by combining the sweetener, milk and orange zest. If the mini mug cakes are still wet in the middle, then continue to cook in 20 second intervals.
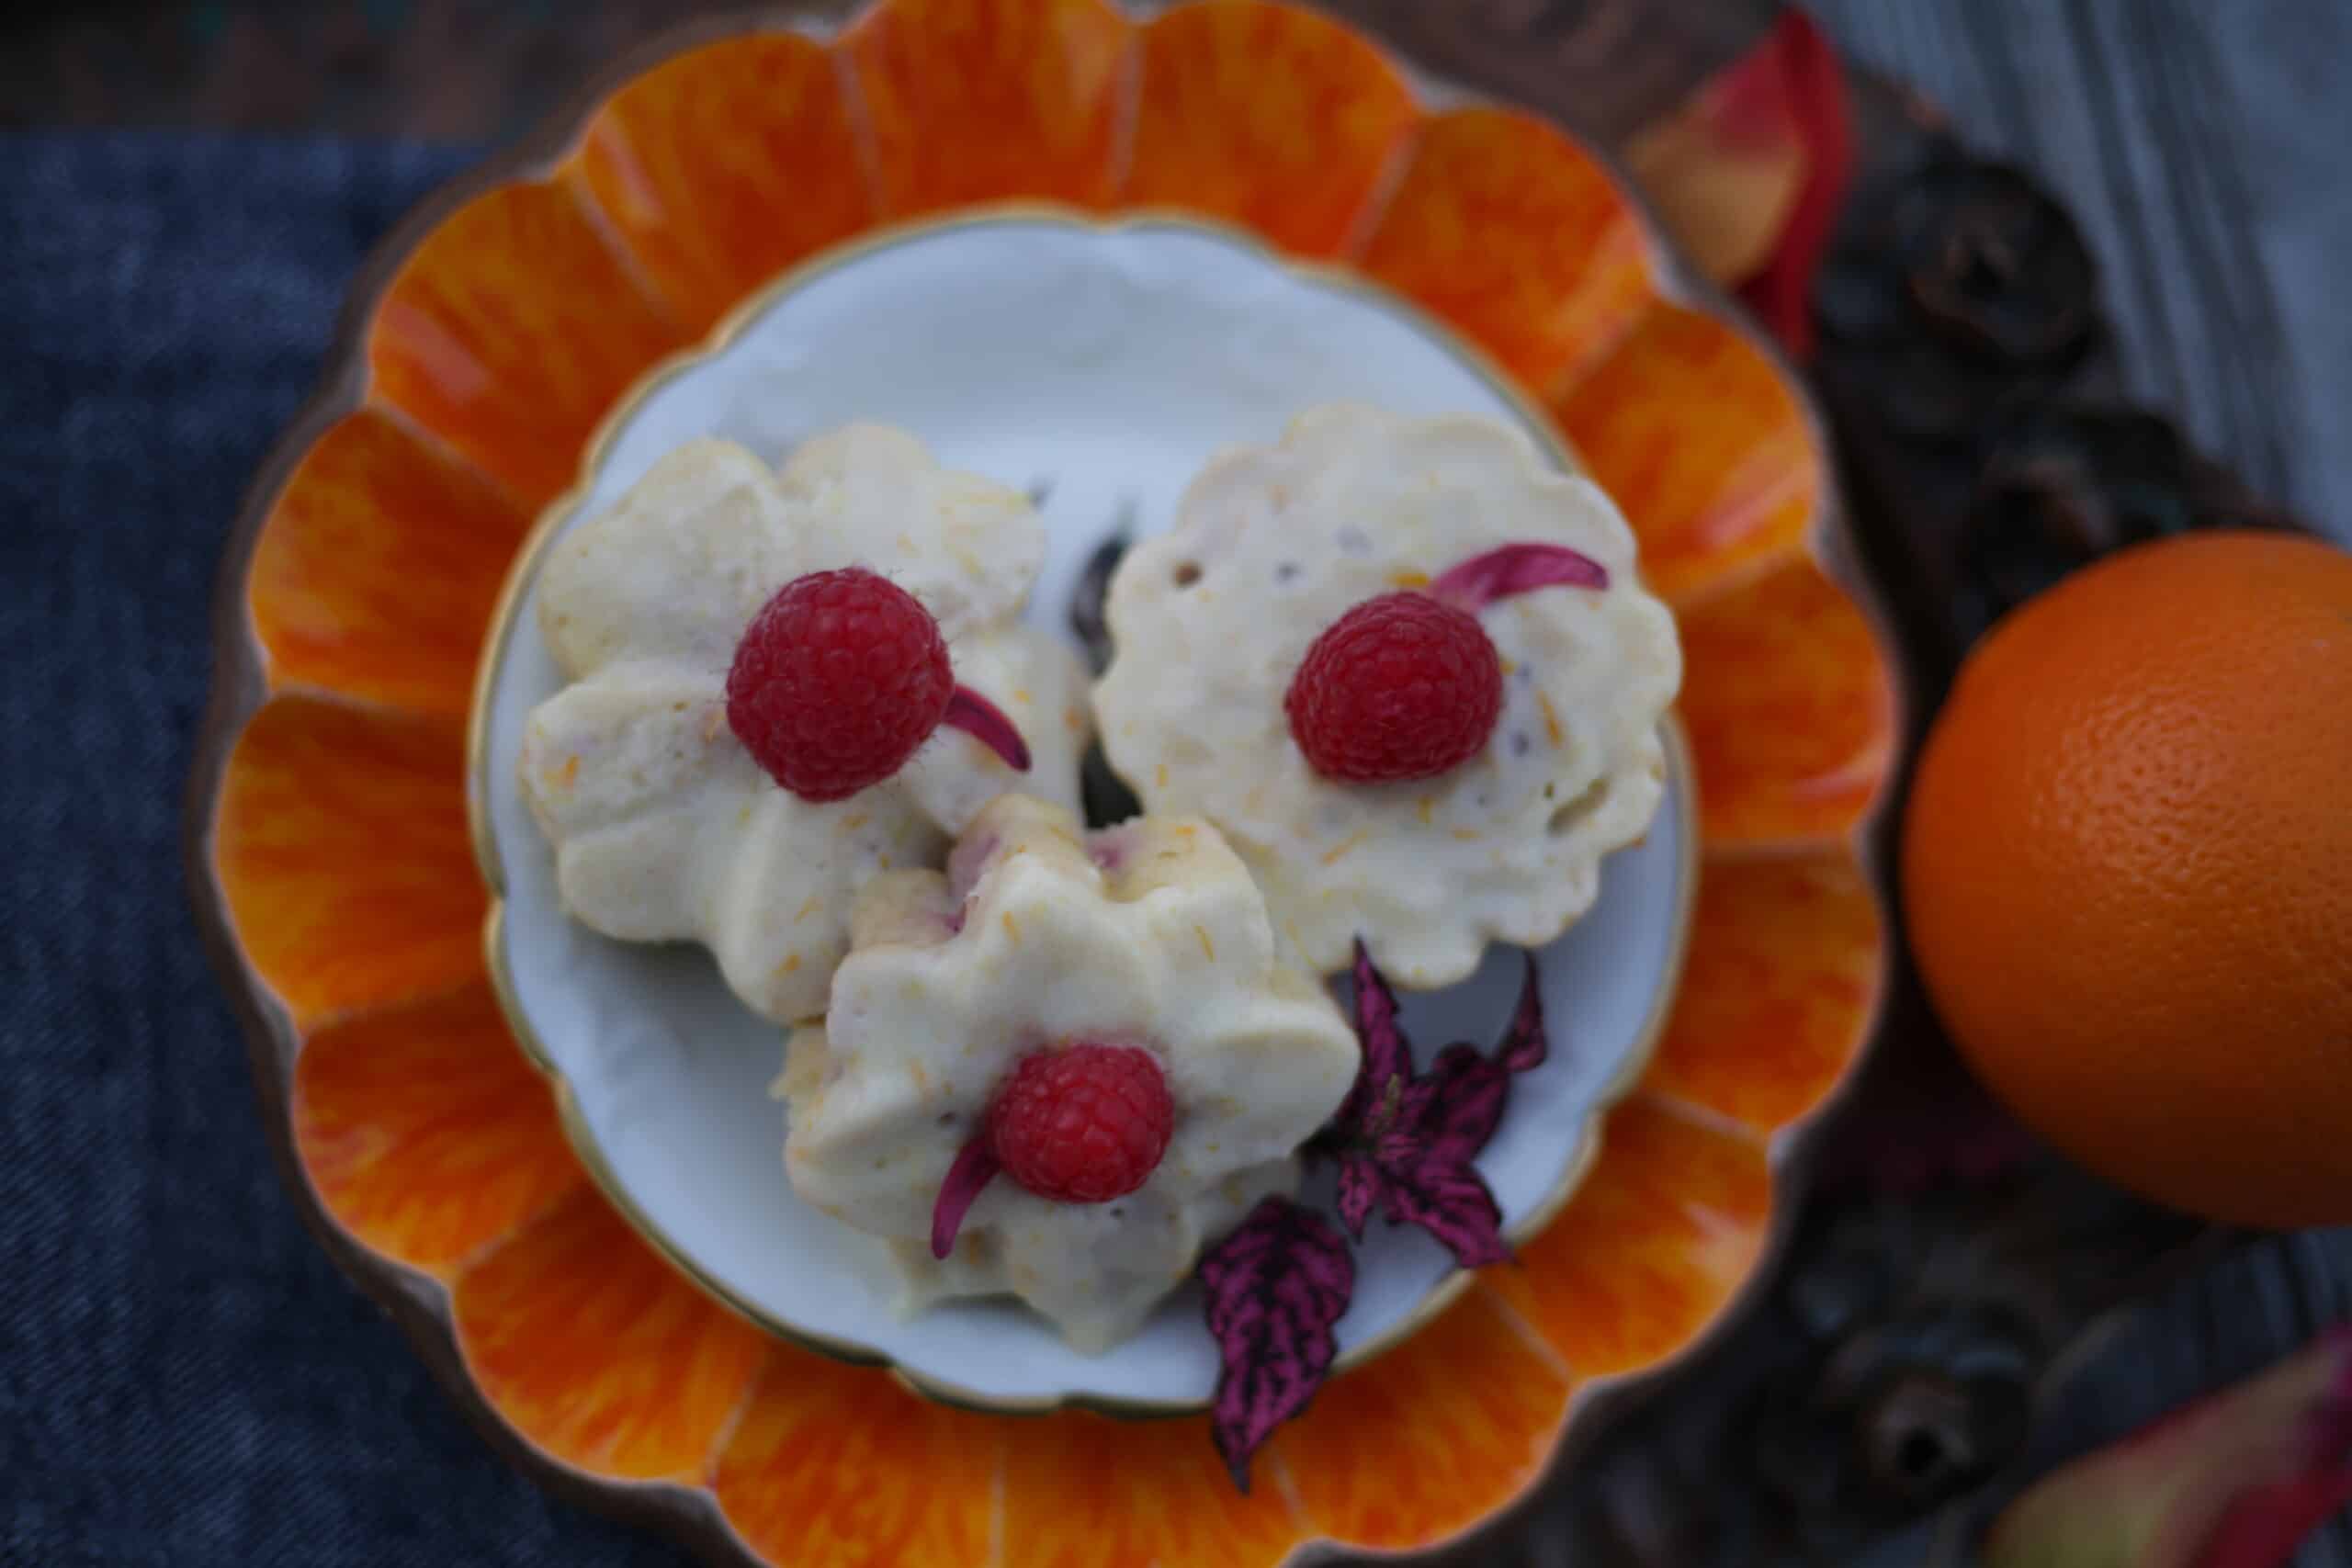
Remove from the cups or silicone molds and top with the icing decorate with the raspberries and edible flowers if desired. The raspberries will sick to the cakes with just the icing (it’s a bit sticky). Enjoy!

Tips for Making Low Carb Raspberry Orange Mini Mug Cakes
- Melt the butter first, and then put the butter into the refrigerator to let it cool slightly (without hardening) so that when the you add the egg, the egg doesn’t cook.
- You can mix all of the ingredients in the same bowl and microwave it. However, I found that by separating the dry ingredients and the wet ingredients that it just seems to come together faster and easier.
- While the cakes are cooking in the microwave or in the oven, make the icing.
- I always hear chefs talk about “eating with your eyes first,” so be sure to decorate these in a cute way with the raspberries and the icing. That way, they will be even more satisfying!
How to Store Low Carb Raspberry Orange Mini Mug Cakes
For the best results, store of the leftover Raspberry Orange Mini Mug Cakes covered in the refrigerator. Before serving, remove the low carb cakes from the refrigerator about one hour before planning to eat.
Low Carb Raspberry Orange Mini Mug Cakes with Yummy Icing
Ingredients
- 2 tablespoons butter
- 1 tablespoon coconut flour
- 2½ tablespoons almond flour
- 2 tablespoons xylitol or other sugar-free sweetener like monk fruit, erythritol or Stevia
- ¼ teaspoon baking powder
- 2 tablespoons sour cream
- 1 teaspoon vanilla extract
- 1 teaspoons fresh orange juice
- 1/2 teaspoon orange extract
- 2 teaspoons fresh orange zest
- 2 tablespoons fresh raspberries divided
- 1 egg
- 1 egg white
Yummy Icing
- 1/3 cup Swerve Sweetener or Powdered Sweetener like xylitol, monk fruit or erythritol
- 1½ teaspoon almond milk or keto dairy milk like Fair Life!
- 1 teaspoon orangezest
Instructions
- Melt butter: In a microwave safe cup, melt the butter for 1 minute. If the butter is not completely melted, then add 20 seconds more. Use a small amount of the butter to grease the cup(s), mold or baking dish, and set the rest of the butter in the fridge to cool slightly (but not harden). I used a food-grade decorative silicone mold in flower shapes for this to make it more fun, but you can use a large microwave-safe mug, or small bowls, etc.
- Mix the dry ingredients: In a small bowl, mix together the coconut flour, almond flour, xylitol and baking powder.
- Mix the wet ingredients: In a small bowl, mix together the sour cream, vanilla extract, orange juice, orange zest, egg and egg white. Mix the dry ingredients in, then add the butter, but only once the butter has cooled enough at room temperature – otherwise it’ll cook the eggs. Stir in 1 tablespoon of raspberries.
- Cook in the microwave: Place the mug or tray in the microwave and cook for 90 seconds. Test for doneness by inserting a cake tester or toothpick into the center, which will come out clean when the cake(s) is done. If the cake(s) is not completely baked, then continue to cook in 20 second intervals until the cake(s) is done.
- Make Icing: While the cake(s) is in the microwave, make the icing. In a bowl, use a fork or whisk to mix together the sweetener, milk and orange zest until fully combined. Spread the icing over the cake(s) and top with the remaining raspberries. Enjoy!